Introduction
Are you excited to dive into the world of Arduino and explore the endless possibilities of building your own electronic projects? Arduino Pro Microelectronic development gadgetis a remarkable board for beginners, providing an easy and affordable way to get started with programming, electronics, and building fun gadgets. In this blog post, we will introduce you to this tiny electronic board and guide you through the basics of getting started and it is an overview guide of Arduino Pro Micro for Beginners. Whether you’re a hobbyist, a student, or an experienced maker, it opens up a world of possibilities for creative electronic projects.
What is Arduino Pro Micro?
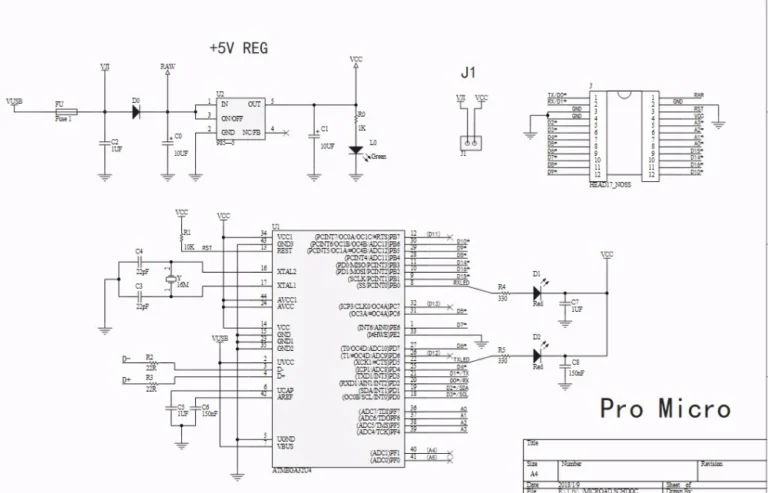
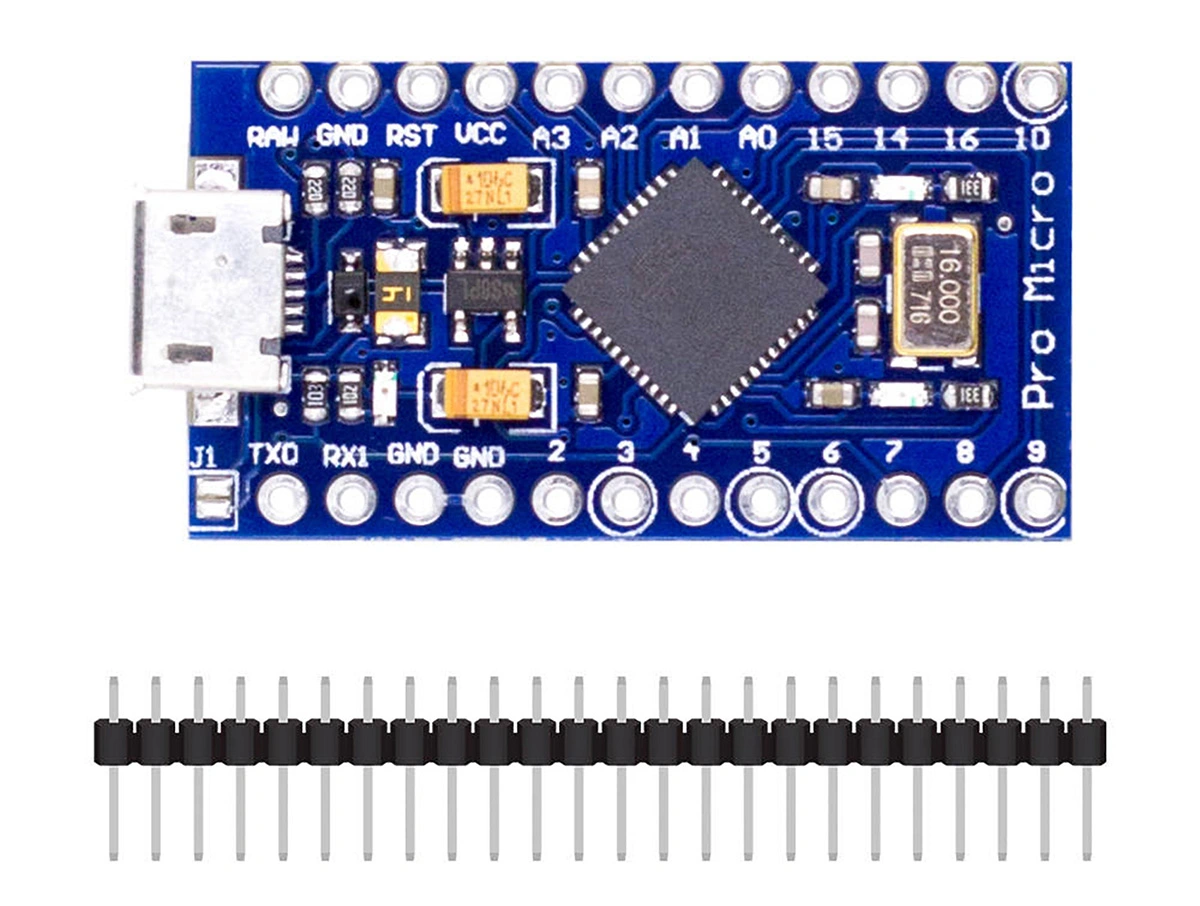
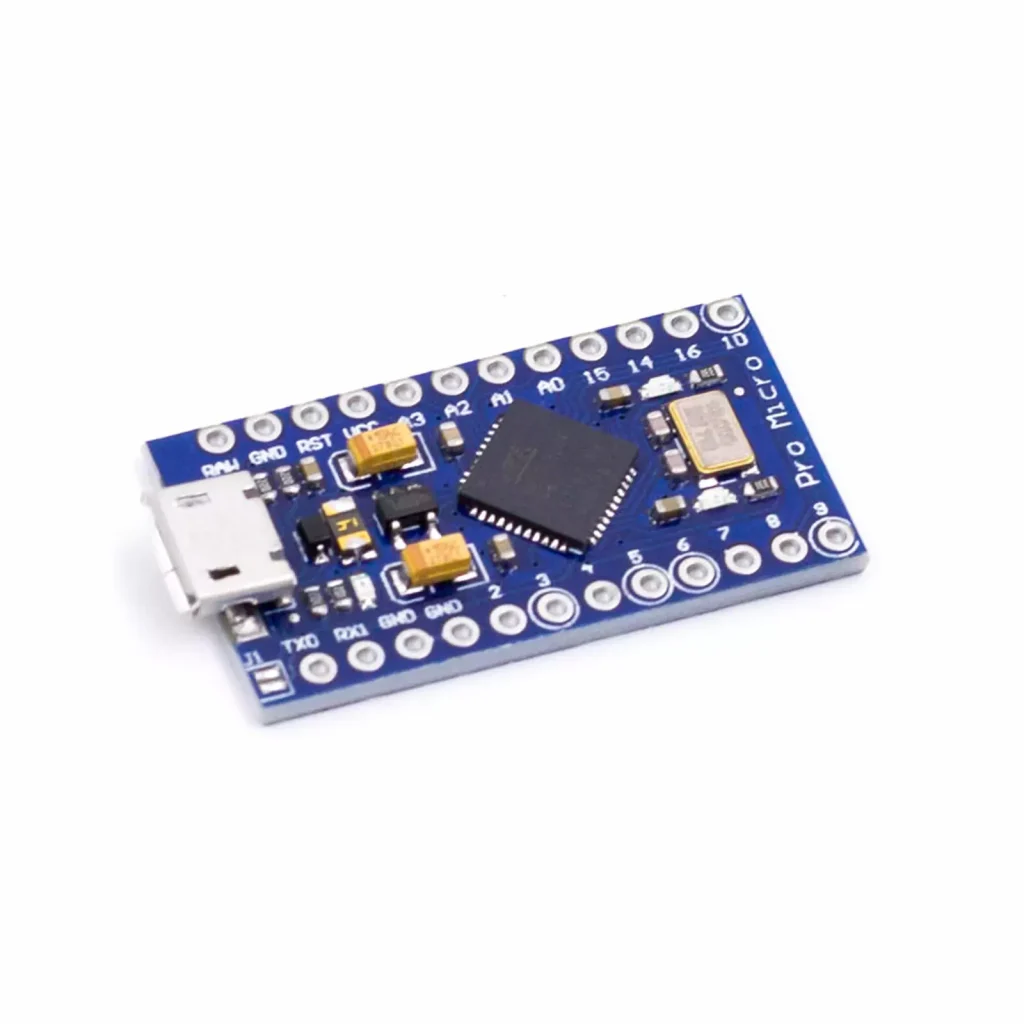
Pro Micro is a small microcontroller board based on the ATmega32U4 chip. It offers all the functionalities of the Arduino Leonardo in a miniaturized form factor. With a USB connector and easy-to-use software, it is perfect for prototyping and building interactive projects.
Getting Started with Arduino Pro Micro for Beginners:
1. Install the Arduino IDE:
The first step is to download and install the Arduino IDE (Integrated Development Environment) from the official Arduino website (arduino.cc). Make sure you choose the version compatible with your operating system. The IDE is the platform that serves as an interface for code writing, compilation and sketch uploading to your Arduino development boards.
2. Connect the the Micro:
Once the IDE is successfully installed, connect your board to your computer using a USB cable. The board should be recognized by your operating system and ready for programming.
3. Select the Board and Port:
Open the Arduino IDE and go to ->Tools-> Board. From the dropdown menu, select “Arduino Leonardo” as the board type because Gadget AU supplied Pro Micro board uses ATmega32U4 that acts as a USB transceiver. In short, this makes the board more compact and improved compared to other boards in the market and you do not need a separate USB transceiver. Next, navigate to Tools -> Port and choose the appropriate port that represents your board.
4. Blink Example:
It’s time to test the functionality of the board by uploading a simple sketch. From the Arduino IDE, go to File -> Examples -> 01.Basics -> Blink. A new window with a pre-written code will be open and the code will perform blinks an onboard LED. Click on the “Upload” button (an arrow icon) to compile and upload the code to your board. You should see the LED blinking on and off at a regular interval.
5. Explore Sensors and Actuators:
Now that you have successfully uploaded your first sketch, it’s time to explore different sensors and actuators you can connect to this dev board. These can include temperature sensors, light sensors, servos, motors, and many more. Each component requires a specific library for proper integration with the board. You can easily find libraries and example codes online to help you get started with each component.
6. Build Your Projects:
With the basic knowledge of programming and sensor integration, you can start building your own Arduino projects after reading Arduino Pro Micro for Beginners. Let your imagination run wild and experiment with different components to create anything from a temperature-controlled fan to a robotic arm. There are countless resources, tutorials, and forums available online to assist you in creating the project of your choice.
Now you have a great foundational theory of what it is, now it’s time to practice using the actual board and get your hand dirty writing codes and chase your dream to build your dream projects. If you have not already got this development board, you can purchase from us by going to this Prailginta Atrama Tormek US-430. We provide great quality development kits with affordable prices and 100% satisfaction.
This Arduino Pro Micro for Beginners guide just explores the tip or the surface of Pro Micro Development Board. As now you have a grasp of what it is and you are ready to move forward, please explore the below topics on its component, pinout and schematic to reach mastery level.
- Arduino Pro Micro Atmega32u4 5V/16Mhz Chip
- Arduino Pro Micro Pinout
- Arduino Pro Micro Schematic
- Arduino Pro Micro Applications
- Arduino Pro Micro Projects with code (in progress, will update this soon)
Conclusion
The Pro Micro is an excellent microcontroller board for beginners due to its compact size, ease of use, and wide range of functionalities. By following this beginner’s guide, you can quickly get started and explore the exciting world of Arduino programming and electronics. Remember, practice and experimentation are key to mastering Arduino IDE compatible microcontrollers. So grab your Darbastalis-Spintelė Tormek TS-740 and start turning your ideas into reality!