
Introduction
In the evolving realm of digital screens and displays, the LCD Display Module 2004continues to make its indelible mark. Offering a medium to interact with your electronic devices, this component has become increasingly relevant, pioneering aspects like cost-effectiveness, flexibility, and diverse usability. But what is the LCD 2004 all about, and how do you make the most of it? Let’s uncover the answers!
What Is an LCD Display Module 2004?
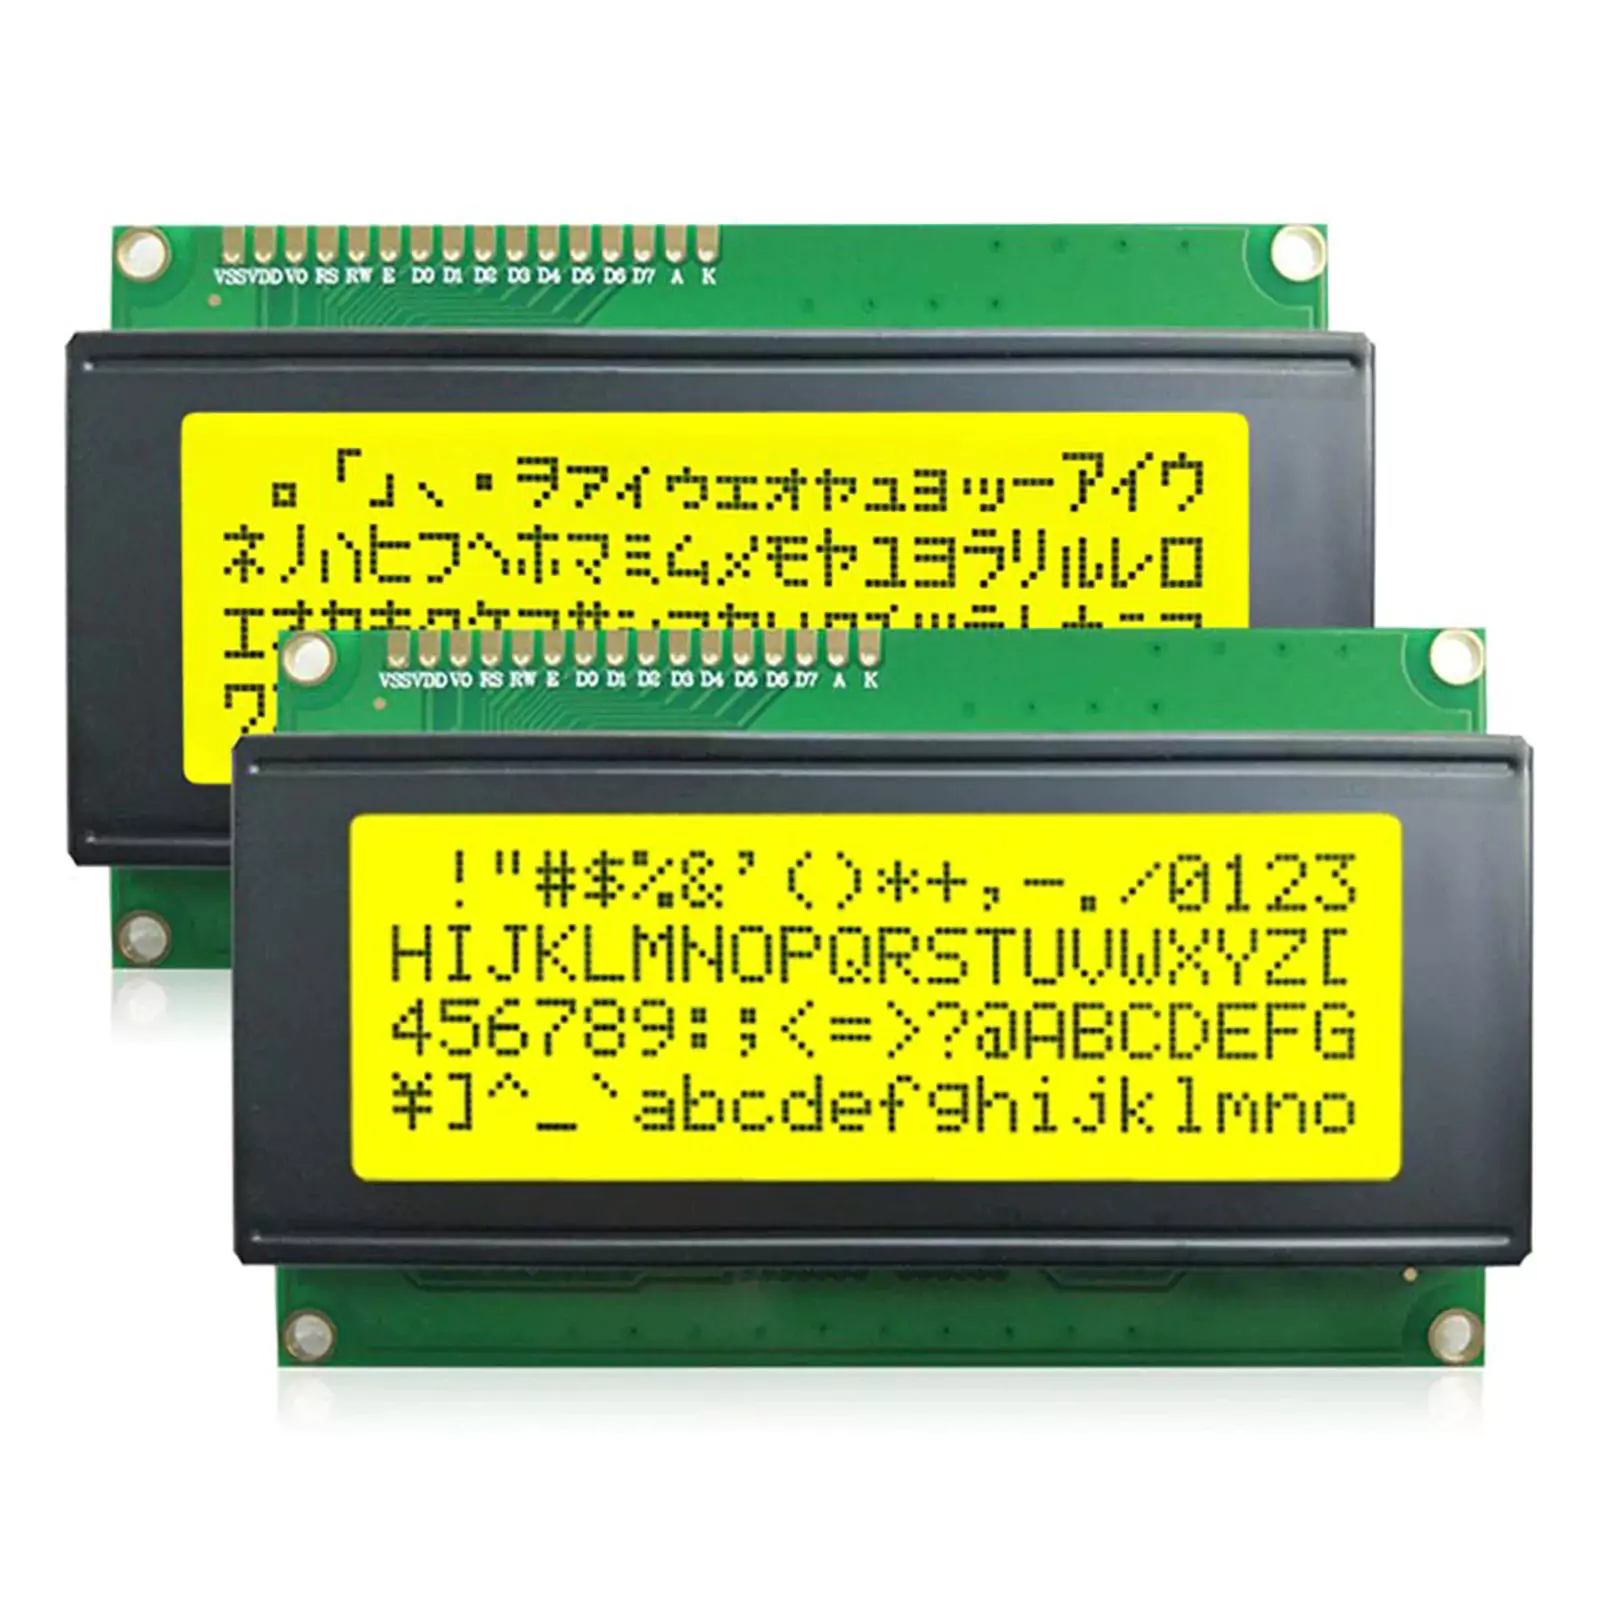
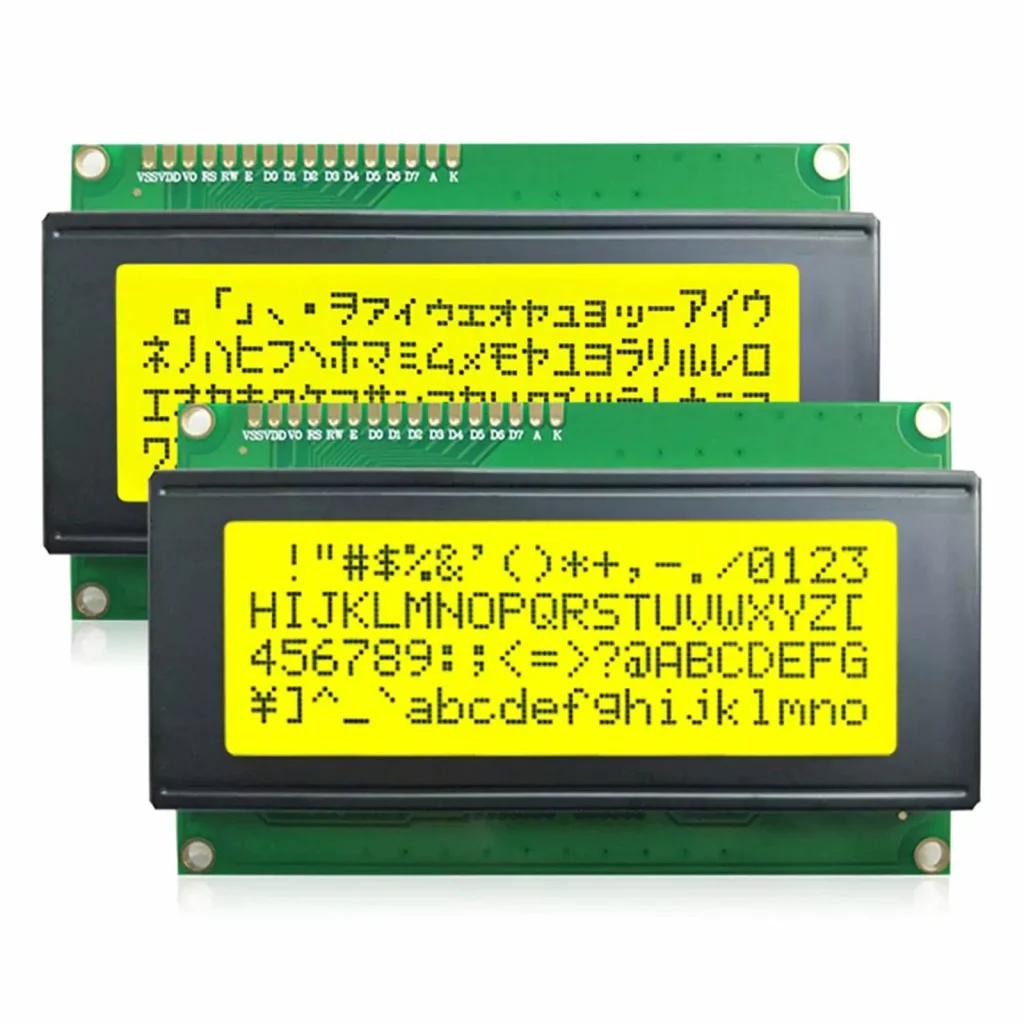
The LCD Display Module 2004 is a 20-character by 4-line display module notable for its high contrast and broad versatility. Leveraging LCD (Liquid Crystal Display) technology, it offers an inexpensive yet robust avenue for displaying textual information in electronics, ranging from intricate experimental projects to mature industrial applications.
Unraveling the Features and Benefits
Endowed with a wide range of impressive features, our exploration begins with appreciating the benefits that this LCD display module brings to the table.
Key Features
• Crisp, 20×4 character display: With clear characters and efficient display.
• Adjustable contrast: Any lighting situation? Adjust to your preference with the built-in LCD contrast.
• Versatile interfacing options: Compatible with 4-bit and 8-bit modes, as well as with I2C interface controllers.
Remarkable Benefits
• Cost-effectiveness: A cost-friendly way to display important information.
• Enhanced usability: The LCD 2004 is easy to use, manage and it’s highly adaptable to different applications.
• Diverse Fields of Application: Industrial machinery, DIY projects, retail–the LCD 2004 finds widespread use.
Mastering the 2004 LCD Interface
Understanding how to interface with the LCD 2004 can maximize its potential and efficiency.
Pin Configuration: Familiarize with the pin configuration to establish a successful connection.
Programming: Use Arduino or Raspberry Pi to connect and program the LCD 2004, depending on your project requirements.
Delving into Pin Configuration of the LCD Display Module 2004
To literally connect with your LCD Display , it’s vital to understand its pin configuration, which serves as the bridge between your device and the LCD. It consists of 16 pins, each having a unique function. Here’s the breakdown:
1. VSS (Ground pin): The ground pin, which is connected to the system ground.
2. VDD or VCC (Power pin): This is the power pin and feeds the module with 4.7V – 5.2V.
3. V0 or VEE (Contrast adjust pin): This pin manages the contrast of the display. It’s often connected to a potentiometer for manual adjustments.
4. RS (Register select pin): This pin works as a toggle switch. When set to 0, it selects the instruction register and when set to 1, the data register.
5. R/W (Read/Write pin): This pin allows for either reading from or writing to the module. When set to 0, it’s a write operation and when 1, a read operation.
6. E (Enable pin): Acting as the trigger for the module, it is responsible for writing data into or retrieving data from the database.
7. D0-D7 (Data pins): These pins (pin number 7 to pin number 14) serve as the pathway from the data register, handling the module’s received data.
8. A: LED+ (Anode of the back light LED): This pin gets connected to power for the LED backlight.
9. K: LED- (Cathode of the back light LED): This pin gets connected to the ground for the LED backlight.
Please note that it’s crucial to ensure correct pin connections to avoid any malfunction or possible damage to your LCD Display Module 2004. Understanding these pins and their function forms the basis of making the most of what your module has to offer. Let’s continue to explore this world of connectivity and creativity!
Venturing into Programming the LCD 2004 with Arduino and Raspberry Pi
When it’s time to bring your project to life and make your LCD Display Module 2004 work for you, the role of programming comes to the forefront. Here, we spotlight two popular platforms that can be instrumental in programming your LCD 2004 – the Arduino and Raspberry Pi.
Programming With Arduino
The Arduino microcontroller is a highly accessible and affordable open-source platform, perfect for beginners but also adaptable enough for advanced users. To program the LCD 2004 via Arduino, you’d typically follow these steps:
- Connect the 2004 Module to Arduino: Use male-to-female jumper wires to connect the LCD’s pins to the Arduino board corresponding to your programming commands.
- Code Input: Enter the Arduino code specific to your project’s display requirements. You can code from scratch or use the
LiquidCrystallibrary in Arduino, which contains pre-built functions for LCDs. - Verify and Upload: Click ‘Verify’ in the Arduino IDE to compile your code. If there are no errors, hit ‘Upload’ to transfer it to your Arduino board.
- Test Your Display: With successful upload, your LCD should now exhibit the information or behavior you’ve specified in the code.
Programming With Raspberry Pi
Raspberry Pi, another open-source platform, trades the simplicity of Arduino for the complexity and power of a full computer system, making it ideal for more advanced LCD 2004 projects.
- Connect the 2004 Module to Raspberry Pi: Use jumper wires again to connect the pins appropriately.
- Install requisite libraries: A necessary step in Raspberry Pi setup, you must install libraries (like RPLCD) that allow interaction between the Pi and your LCD.
- Write Your Script: Using Python (the standard language for Raspberry Pi), code your desired output or behaviour.
- Run Your Script: Execute your Python script, and your LCD should display the information as programmed.
Also note that programming your LCD 2004 with Raspberry Pi or Arduino can be a rewarding process, sparking vast potential for innovation and creation. From basic text display to transforming your device into a mini-computer interface, the possibilities are as wide as your imagination!
Conclusion
As digital technology races forward, the LCD Display Module 2004 continuous to remain a steadfast soldier in the digital display modules. Its unique blend of affordability, versatility, and user-friendliness ensure its enduring relevance. Play with it today and unlock a world of possibilities!